Showing posts with label Dimensional Items. Show all posts

Thursday, September 08, 2016

CTMH Jeepers Creepers Halloween Wreath using Dollar Tree Wire Frame!


I love it when a project comes together so quickly!  I watched this video from Close To My Heart (CTMH) a month or so ago and I immediately knew I would be reinventing it for multiple holidays and seasons.  I bought my wire frame wreath from Dollar Tree, put it on my table and there it sat....  I couldn't decide what season to make first. LOL


Buy Your Jeepers Creepers Paper and Complements Here


Here are a few tips and tricks I came up with:

  • Tie tulle between the papers. Adds dimension and keeps the paper from sliding around the wreath
  • Make it more "Halloween" by creating a jagged edge instead of the dovetail edge featured in the video.
  • You can create a completely different look by flipping over the two-sided paper!  I went with the purple/green/black color scheme.  By flipping just a couple of pieces I could have pulled in the orange or "monster" theme.


Cutting dimensions:
15 strips of paper 2" x 12" (3 each of five different paper designs)
Center pieces 2 1/4" x 12"


Tuesday, September 06, 2016

DIY Gold and Silver Acetate Boxes for Cookies and Gifts

I absolutely love to personalize the gifts I give by dressing them up with pretty cards and boxes.  Even better when I can DIY my own box or bag to perfectly fit!!

My hostess last week makes the most AMAZING cookies so when I was planning the projects to share at her party, I knew I had to share something fun that she could use to package her cookies.  (Please note - I'm not a baker, I imagine cookies will be put in food safe bags first.)

I used the new Fundamentals All About Gold acetate sheets to create these quick and easy boxes and now I am addicted and I keep coming up with more cool ways of using these sheets (stay tuned!!)

Here's a video to show you how to make them.  I've included measurements below.


DIY Acetate Box Measurements

Buy Your All About Gold Acetate Here

Top/Bottom - Cardstock
4.25"x 4.25"
Score at 11/16 from each edge.

Acetate Middle
You can choose any height.
Samples are 4" x 11.5" and 6" x 11.5"
Score along 11" side at 2.75", 5.5". 8.25" and 11"

Embellishments
Z3260 Thin Cuts - Hearts
Flower Market Cricut Cartridge - Buy Your Cartridge Here 


Wednesday, October 01, 2014

FREE Chevron Ribbon and CTMH Home for the Holidays Stamp Set

I love it when two fun specials combine so that we can get even more goodies!!!

When you order $50 or more in October you will receive a FREE roll of Chevron Ribbon.  It will be a surprise...they will add either a Cranberry or an Outdoor Denim roll when they ship your order.


And since you're already ordering $50, then why not add the adorable Home for the Holidays Stamp Set for just $5?!?!


So head on over to my website and get started on your order today.  Please remember that the while supplies last items do not count towards the $50 order.  They are still a great deal though!!

Sunday, September 28, 2014

Having fun with the CTMH Artfully Sent Cricut Cartridge

I think I have a new addiction and nobody will be more surprised than I am!!  I always keep it real at my workshops and crops.  If I think something is a good deal I tell you, if I don't...I tell you or I promote something else...

Well....I haven't said much about the new Artfully Sent Cricut Cartridge because I wasn't too excited about it.  I hadn't seen very many samples and I just didn't see the "vision" of it....Boy oh boy has that changed!  I love this cartridge!!!  It is completely different from the rest of our cartridges and the perfect complement to my collection!!

Okay, Okay... enough blabbing, it's time to start sharing some samples.

With Halloween just a little bit over a month away, it's time to start creating....

One of the features on the cartridge is slide cards.  Typically you make a pouch to slide another card in and out of (wait until you see my gift card ideas!!!) but for Halloween I thought it would be great to turn the pouch for the slide card into a treat pouch.


I used the Scaredy Cat Complements to make decorating the pouches quick and easy!


 Another fun way to decorate your projects it to cut out images from the patterned paper in the Scaredy Cat Paper Pack!


You can order your Artfully Sent Cricut Cartridge and the Scaredy Cat paper and complements 24/7 on my website. 

Want to get your cartridge for 1/2 off?  Contact me and we'll set up your party (in person or online via Facebook) and when your party reaches $250, you can get your cartridge for 1/2 off!!  What a deal!!!

Friday, February 07, 2014

Embossing is Boss! Got Cardstock?

During the month of February, purchase 2 packs of bulk single or combo colored cardstock and receive your choice of 1 of our 5 new embossing folders FREE!


One of the great things about our embossing folders is that they are 5 x 7!!  That means they will fit a whole standard size card, as well as many other great projects like the strawberry pictured below!

I didn't have my Close to My Heart embossing folders when I made my sample and let me tell you...it was quite tricky to get the whole box into the small embossing folder I was using!  I finally had to let one edge stick out a bit.

After I embossed the cardstock I ran some sandpaper across it to expose the white core.  I love how it turned out!!


The strawberry was cut using the Close To My Heart Artiste Cricut Cartridge 3d object, page 72


Ready to purchase your own Artiste cartridge or take advantage of the Embossing special?  Head on over to my  my website  and order now, or contact me to set-up your own party and earn more product FREE.


Friday, January 10, 2014

Valentine Treat Tube


Here's another project featuring D1560 Holiday Tags.  The labels can be cut with the CTMH Artiste Cricut Cartridge, which makes it quick and easy to whip up a bunch of tags.
.

I cut the cranberry tag from page 37 of the Art Philosophy cartridge


And then cut the white tag 1/4 inch larger using Pg 50.  The wholes didn't line up perfectly so I just re-punched them.


Monday, February 25, 2013

CTMH Easter Basket using Artiste Cricut Cartridge

Still playing around with the "Spring" key on the Close To My Heart (CTMH) Artiste Cricut Cartridge.  There are so many fun projects on this one little key.  It could keep me busy for a while!


This time I made the cute little strawberry basket and turned it into an Easter basket.  Quick, easy and fun!


I wove some of our Chantilly fabric through the sides of the basket and embellished with the Easter Wishes stamp set.

Products Used:

  • Cotton Candy Cardstock
  • Cotton Candy ink pad
  • Key Lime Cardstock (retired - you could use pear or sweet leaf)
  • B1422 Easter Wishes
  • Close To My Heart Artiste Cricut Cartridge
In case you missed it - here's the post where I featured the Butterfly Boxes from the same key.


Wednesday, February 20, 2013

CTMH Artiste Butterfly Boxes

My buddy Candace was prepping for one of her workshops and inspired me to make these adorable butterfly boxes with the Close To My Heart (CTMH) Artiste Cricut Cartridge.


I know many of my customers qualified for the Dotty For You campaign a while back so I thought it would be fun to show you something you can do with some of the paper you might have left.

Project Details:
Size - 3"
Key - Spring pg 73


Thursday, December 13, 2012

Wrap it Up! Christmas #3

One of the best things about being a papercrafter and owning a Cricut, is the ability to create something to go with any theme.  The theme for our holiday potluck this year is Reindeer.  I was given the task to design reindeer chinese boxes. I checked out Pinterest and Google for some inspiration and looked for images on the CTMH Art Philosophy Cricut cartridge and came up with this.....


Isn't it adorable?  But wait, they are even cuter when there is a whole herd of them hanging out together!


Art Philosophy Cartridge
Chinese Box - Pg. 24

  • Key - Shift/Drgnfly
  • Size - Fit to page 12 x 12 paper
  • Feature - Font Layer 
Art Philosophy Cartridge
Eyes/Nose - Pg 21
  • Key - Circle 1
  • Size - eyes 1/2 inch   Nose 3/4 inch
  • I added the white on the eyes with our new chalk marker which I absolutely love!!!!
Art Philosophy Cartridge
Antlers - Pg 56
  • Key - Shift/Leaf 4
  • Size - 3.5 inches (I think.  I tried several sizes between 3 inches and 4 inches)
  • Feature - Layer
Art Philosophy Cartridge
Ears - Pg 38

  • Key Shift Flower 7
  • Size - 3"
  • Feature - Layer
  • I cut the flower petals off to create 6 ears. 


Wednesday, December 12, 2012

Wrap it Up! Christmas #2

Here's another fun little gift box idea


Once again I used my Dimensional Elements In Color - Holiday to quickly decorate my  box, but you can easily adapt this to any gift giving holiday and embellish with stamps, tags, dimensional elements, ribbon and so much more.

Have you made a gable box with your Artiste Cartridge?  I'd love to see what you came up with!


Artiste Cartridge - Pg. 37

  • Key = 7
  • Feature = 3d Object
  • Size = fit to page 12 x 12 

Sizing Tip:  For some reason I've noticed that my boxes will cut bigger if I use the fit to page feature.  For instance, if the fit to page says it will cut a box 4" and I turn the feature off and then set my size to 4", the cricut will say the image won't fit.  

Monday, December 10, 2012

Wrap It Up - Christmas #1

With only two more weeks until Christmas, it's time to finish up the shopping and get those presents wrapped!  I'm going to share some fun little boxes, bags and tags that you can create to personalize and decorate gifts for co-workers, friends and all those people that provide you with great service throughout the year (hair dressers, dog groomers, water delivery, trash pick-up, apartment managers etc.....)

To make embellishing quick and easy, I used the Dimensional Elements In Color - Holiday.  

I used the Artiste Cartridge

  • Key = 1
  • Feature = 3d Object 
  • Size = fit to page on 12x12


To decorate the flap with a coordinating paper or color, attach a rectangle of the paper to the flap, flip over and trim along the edge with scissors.

Wednesday, November 07, 2012

CTMH Workshop on the Go Advent Calendar Kit

I took my Workshops on the Go Advent Calendar Kit to the Scrappin Escapes retreat last weekend and put it all together.  My picture and the picture in the catalog just don't do it justice.  It is so cute in person!  I love it. The drawers are nice and big so you can put a variety of items inside. 


Here are a few tips and suggestions to help you assemble your kit:
  • If you don't have a lot of time to sit and do it all at once, try breaking down the steps.  Cut your drawers one day.  Score/fold them all another day (if you score and pre-fold, but don't glue your drawers, it will help you identify where to stamp your images.) and then stamp and decorate at a third crafty session.
  • Stamp all of your images and then set aside to dry so you don't smudge them.
  • Assemble the boxes after you decorate them.  It's easier to work with them when they are flat.
  • Don't worry if you stamp a little crooked.  (I did!) I think it adds to the charm!
Here are some suggestions for filling up your drawers:
  • Candy (of course!)
  • A scripture a day
  • An act of service suggestion
  • A Christmas task (hang the stockings, decorate the tree etc.)
  • Or why not make each day an event, put a scripture, an act of service suggestion and a piece of candy for the blessing in each drawer so you can help your children think beyond gifts and toys!
Do you have more ideas?  Share them in the comments!

You can purchase the Workshop on the Go Kit which includes the cubby, paper, stamp pad and dimensional element decorations (I added the bitty sparkles) or you can purchase the cubby separate if you'd like to create a fun home decor item with different papers that can be used all year long.

Shopping List
G1052 Workshops on the Go Advent Calendar Kit - $44.95
Z1804 My Creations Cubby - $16.95
z1263 Bitty Sparkles - $2.95

Head on over to my website to buy your supplies!


Monday, October 15, 2012

Paper Cupcakes Artiste Blog Hop

Welcome to the Paper Cupcakes Artiste Blog Hop.  Today we are featuring the Thanksgiving key on the Close To My Heart Cricut Artiste Cartridge.

Whether you're starting your journey here, or you hopped over from Linda Taylor's blog, you're right on track.

I had so much fun playing with the items on this key.  Instead of going with the traditional shades of Thanksgiving, I used the Clementine paper pack and went with some lighter shades.  (Does anyone else think of Holly Hobby when they see this paper? - I know, I'm dating myself. LOL)

Here's a little collection of items I created that could dress up your holiday table.


I also created a video to show you how easy it is to create the 3-d box.  Please let me know what you think!


Now it's time to hop on over to Karen Cullen's blog to see what she has created.

Wednesday, September 05, 2012

CTMH Halloween Display Tray featuring Moonlight Complements

I was so excited when I saw all the fun Halloween supplies in our Idea Book/Catalog. It was really hard not to immediately begin creating!  I know it's still a little early, but October will be here before you know it and October 1st is the day I start decorating my office!

This project was so quick, easy and fun and I am making it EVEN easier for all my customers.

All you have to do is buy the display tray ($19.95) and the Moonlight Complements Dimensional Elements ($4.95) and I will provide the paper, cricut cuts, and close-up photo needed to complete the project.

You can easily personalize the project by putting photos in a couple of the sections instead of the decorations.

When you are done you will have a few elements left over that you can use on your other spooky projects.


Thursday, August 02, 2012

CTMH Cricut Artiste - Pop-Up Cards

One of the keys I was assigned to use for my Extravaganza Presentation at the Close To My Heart 2012 Convention was the "A" key and it contains fun pop-up cards.


You can create a card that says "Hello" or one that says "love," but as you can see on my board below... I came up with a third option.  Simply flip the card insert over, or cover it with paper and you can have a blank canvas to create whatever kind of pop-up card you'd like!


I'll post a better picture later...but can you tell what part of the key I used to create the little gift with the eiffel tower on the tag?  It's the adorable mailbox!  I put two mailboxes together to create something new.  Stay tuned and I'll post a better picture and more details.

Supplies Used:
  • La Belle Vie Paper Pack
  • CTMH Cricut Artiste Cartridge - A Key as well as a few cuts from other keys.
  • Glamour Glitter Alphabet
  • Birthday Stamps/Balloons are from set included in Artiste Bundle
  • D1528 Jardin Stamp Set
  • La Belle Vie My Stickease Assortment
  • Black, Smokey Plum, Desert Sand and Blush inks
Are you ready to add the Artiste Cartridge to your collection?  You can purchase it, or any of the other Close To My Heart products I've featured, on my website, or contact me to book your own online gathering and earn FREE product too!


Tuesday, December 13, 2011

Posting Issues - Christmas Fun

Well, I planned a bunch of posts and scheduled them too...sadly something happened and they never got to you.  (haha, the holidays must be invading my brain and incorporating sad rhyming in my writing)

I figured the problem out a while ago, but for some reason I just didn't feel like fixing it.  I guess I was irritated, annoyed or just plain overwhelmed with life. Maybe I just needed a break?

Well folks, my "break" is over and it's time to get this show on the road and start posting all the cool things I have been creating.  I'm sure many of you need some last minute inspiration, right?

First up is a little box I made using the Art Philosophy Cricut Cartridge.  I used plain white cardstock and the stamp set from the Believe Workshop on the Go to add my own pattern to the box.  This is a very economical way to decorate your boxes!  And the best part?  I can switch up the colors and use the very same design for any party all year long!

I also used the B1390 Countdown for the little circle on the front.  Another fun set that can be used all year long.

Why not...

  • Create a scavenger hunt birthday and number little gifts or clues along the way.
  • Create birthday cupcake toppers with the age (1, 2, 3, 50, 60, 90!)
  • You can use the numbers on a birthday card too.


I'm always looking for fun container to "alter" and I picked this one up at Smart N Final.  The "trick" to this is, you have to create a angled pattern to wrap around the container.  Everyone who attended my Santa's workshop had the opportunity to copy my pattern so they could use this idea again.

Love the little tag on the top!  It's from...you guessed it... the Art Philosophy Cricut Cartridge.  It has a little tree cutout so I placed it on Topiary paper.  Fun and Easy!


And every other year or so I have to put a new spin on Snowman Soup.  This year I found these cool truffle boxes.  They are clear so you can see the contents inside.  My upline, Bren Yule, saw me designing my project...I had the card cut...the layers done...and I was working on the cocoa cup and she said.. "I have the perfect idea for you....Put the All Decked Out Snowman head in the cup."  It was the finishing touch I needed!!!!  Plus I was able to show my customers how to use a mask when they stamped their cup and snowman.


Well I hope you have gotten a little inspiration.  I have a few more photos to post...and a brand new camera (that was ANOTHER reason I was absent for a while...my camera bit the dust!).  Anyway...my new camera takes amazing pictures!


Thursday, October 20, 2011

Fall Blocks

Here are the cute Fall blocks we made at the last workshop.


Supplies Used:
Dreamin Paper Pack
Art Philosophy Cricut Cartridge (letters)

My friendly woodcutter, Ivan, cut the blocks for me.  Check out his blog to see the adorable wooden toys he makes!

Sunday, September 25, 2011

Book Card Video Tutorial

I taught this fun card at my workshop a couple of weeks ago and my customers asked me to create a video so they can watch it again later.

I aim to please...
so here we go....

Wednesday, August 17, 2011

Cricut Class - Sneak Peek

I'm offering a FREE cricut class for all of my customers that purchase the Art Philosophy Cricut Bundle this month ($10 for consultants or those who have not purchased their cartridge from me.)  I want to make sure I show you tons of cool ways to use your cartridge so that you get the most for your $$.  We'll make a couple of projects and I'll demonstrate some quick tips and techniques to make things Faster, Simpler and Easier!!


So mark your calendars and RSVP!

Close To My Heart - Art Philosophy Cricut Bundle Class
Friday, August 26th - 6:30pm
Rec Room - Lakeside, CA  92040 
(contact me for the complete address)

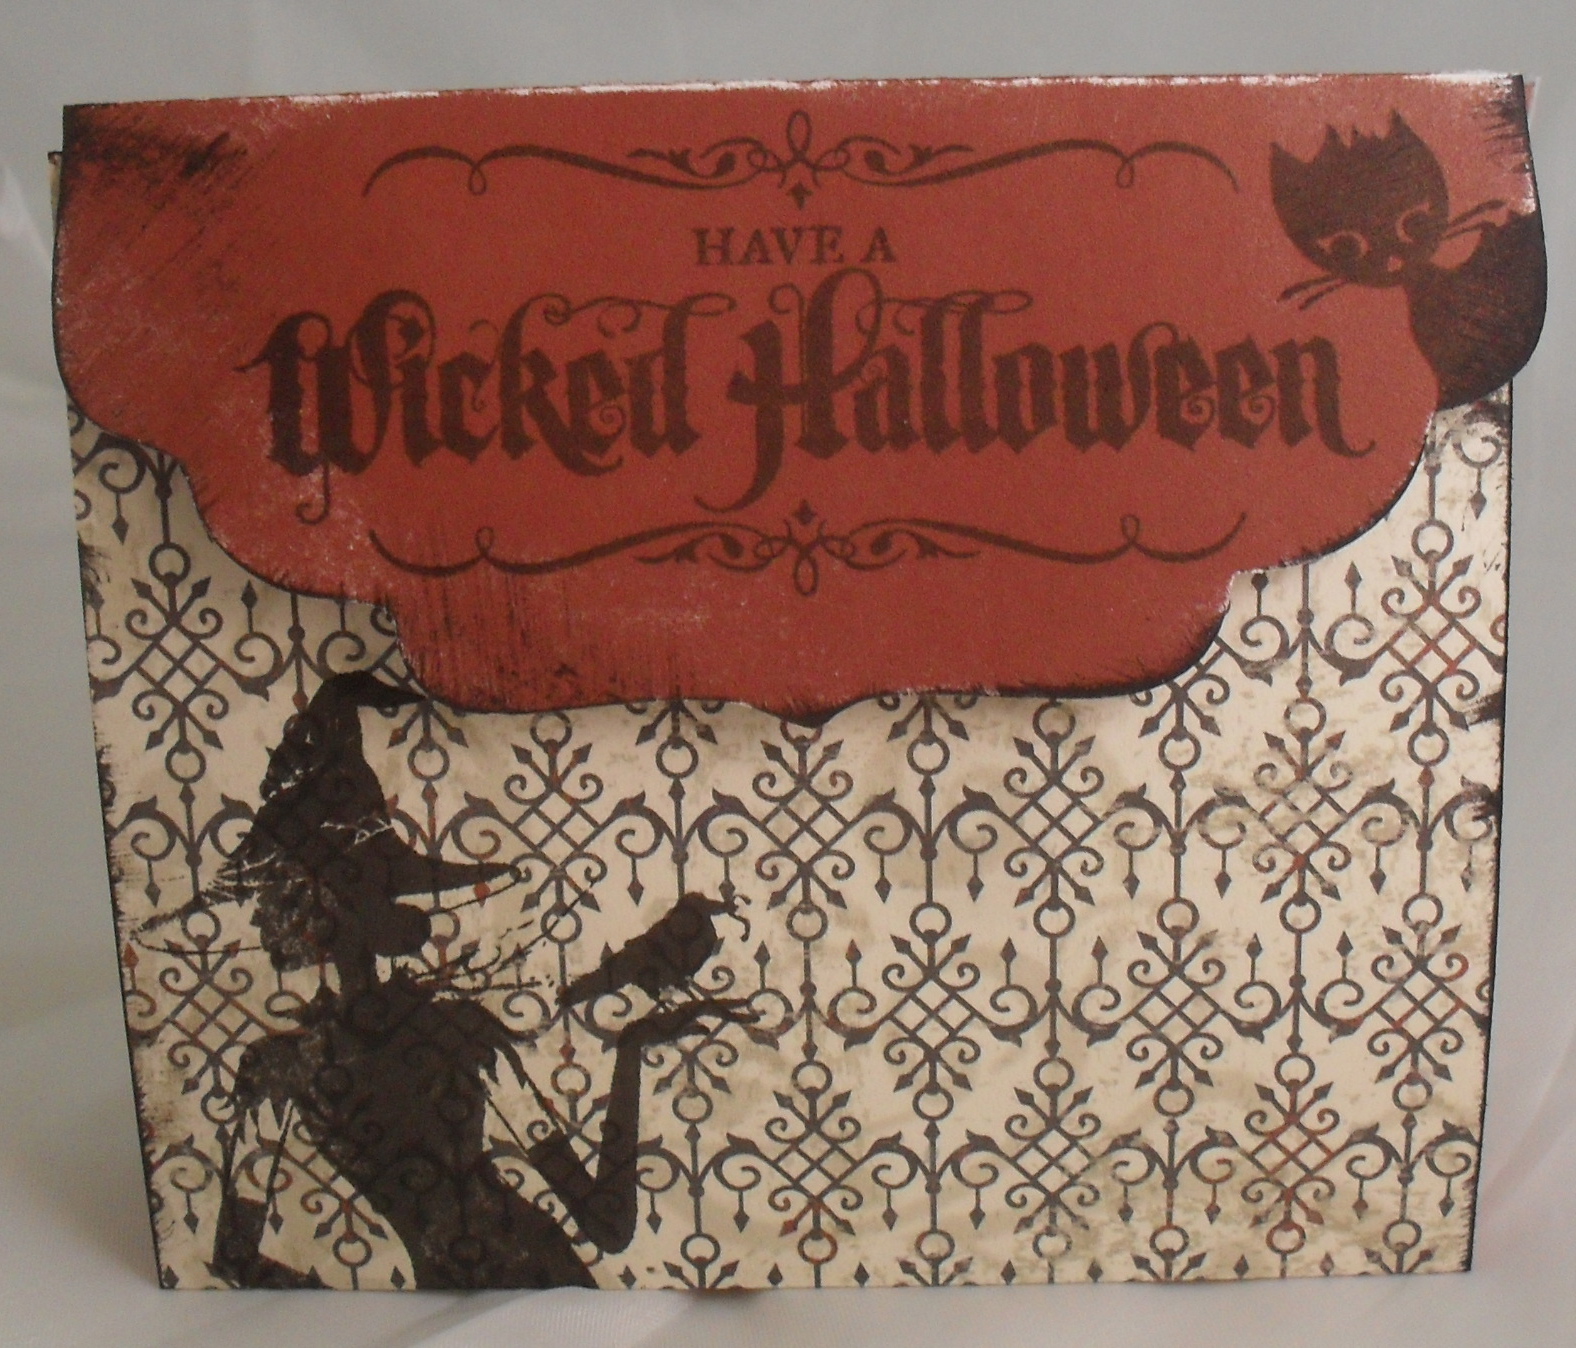
Here's a little sneak peek at one of the projects we'll be completing.... (I have a non- Halloween option available.  You must request it when you RSVP)


This fun little treat bag can be adapted to any holiday or party.  Just switch out the papers and stamps for a completely different look.  Make it a little shorter and it can be a cute place setting.  The ideas are endless....


Supplies Used:
  • Mischief Paper Pack
  • August 2011 Stamp of the Month - Wicked
  • Black Ink
  • Art Philosophy Cricut Cartridge

Saturday, July 30, 2011

Art Philosophy Gift Bag Tutorial

Edited to Add:  It's a Blog Hop!!  Thank you Tresa Black for hosting!  Once you're done viewing my tutorial, you can hop around and see many other GREAT pieces of art.   

I've been getting a ton of questions about the Art Philosophy Cricut Bundle so I thought I'd make a little tutorial and include a project. See how easy it is to create a cute little gift bag using the cricut cartridge, dimensional elements and matching stamps.