Showing posts with label Wishes Project. Show all posts

Wednesday, April 28, 2010

CTMH New Product Blog Hop

The Summer 2010 catalog goes live on May 1st so we thought we'd get you excited by sharing some artwork featuring new products.  Woo Hoo!  Lots of cute stuff.  I'm so humbled to be right after Tresa on the blog hop.  She does some amazing work!!

The first thing I ordered is the Cherry-O Workshop on the Go Kit because that's the one I'm featuring at my workshop in May.  Today I'm just going to show you one little card I made with some of my extra papers, because I have a feeling Cherry-O will be making many appearances on this little hop of ours....

So here's #16 Cityscape on my wishes project. 

Products Used:
G1008 Cherry-O Workshop on the Go
Tulip, Sweet Leaf and Chocolate Ink

My good friend Candace loaned me her Passages Paper Kit so I could share a different kit with you....and I absolutely fell in love with this paper and the wonderful saying in the stamp set!!  I've been holding on to my My Creations Journal because I wasn't sure how I wanted to decorate it... and then I started playing with this set.  How perfect!!


The little card in the picture is Wishes #19 Simple Strip.  I just love the simplicity of the card and can see sending it to someone as encouragement when they are working on trying something new.

Last up is Wishes #17 Pieced Together.  It's hard to tell in the picture but I wrinkled and distressed all of the layers to give this a vintage look/feel...


Products Used:
Passages Level 2 Paper Pack
C1408 Live Inspired Stamp Set
Ink: Cocoa and Brown Bag (a new fav...I haven't really used it much before!)

Well I hope you enjoyed my creations. Next up on the hop is Kimberly. 

Wednesday, March 31, 2010

April SOTM Blog Hop

Welcome to the April SOTM blog hop.  If you came here from Carol's blog you're on the right track.

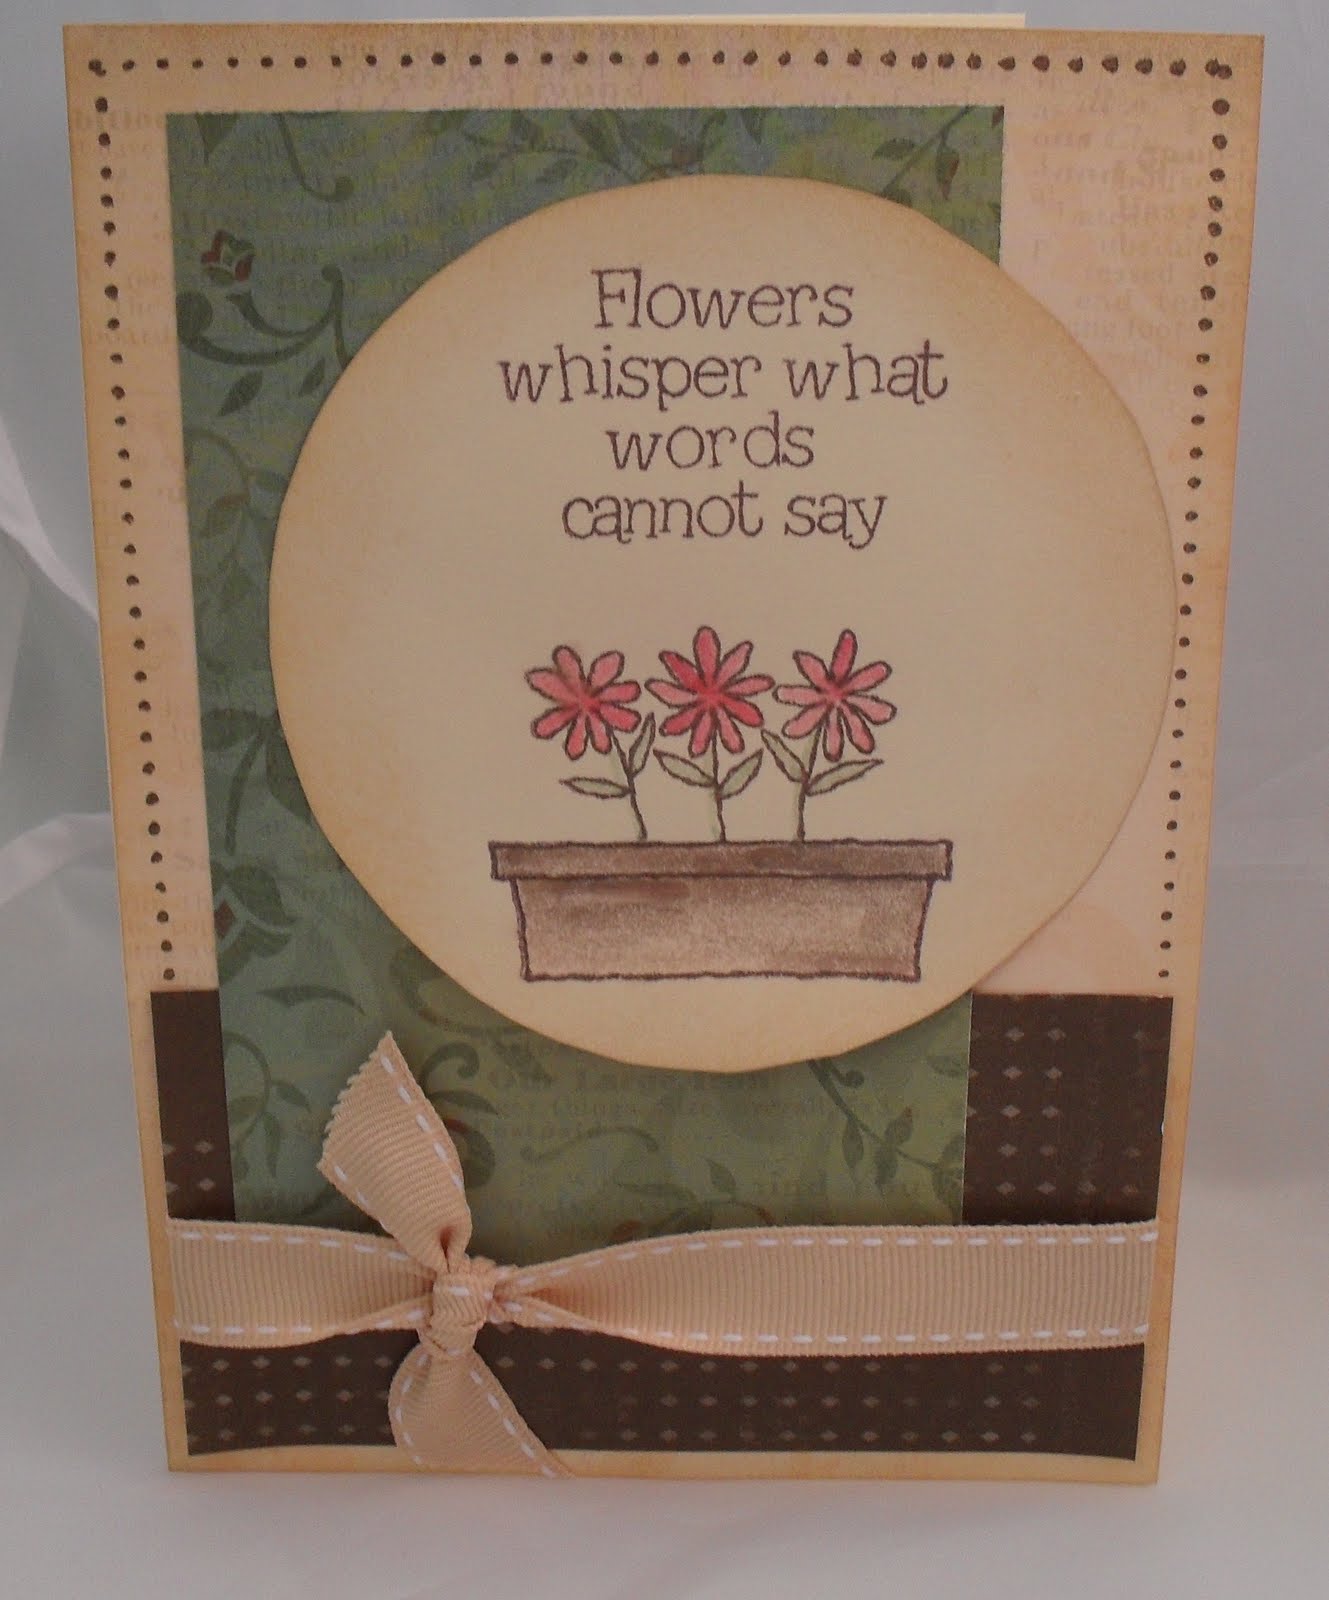
This month's stamp set is Flower Pot and it contains 16 great stamps!  If you love to color, this is the stamp set for you.  You can play with your favorite coloring techniques - chalks, colored pencils, watercolors, markers....  Be sure to order your set, stamp a few images and relax while you pretend you're a kid again.

First I created this great gift bag.  I used a saying from the set on the tag....And it's a sneak peek at just one of the Flower Power techniques I'll be sharing at my April Workshop!!  (Flower on the bottom right of the bag.)


Next up is Wishes #15 Bullseye


Supplies Used:
X5809 Veranda Creative Basics
X7119B Veranda Level 2 Paper Pack
Ink: Cocoa, Tulip, Garden Green
Markers: Buttercup, Garden Green and Sweet Leaf
Z1131Creme Brulee Ribbon
C1234 Simple Stitches Stamp Set
Waterbrush


Now it's time to check out  Wanda's blog to see what she has created.

CTMH Wishes Project #14 Enchanting Enclosure


This fun card features a belly band that slides off so you can open the card.

Rubber stamping tips:
  • I curved a straight stamp in the set on my block so that I could stamp it around the edge of the circle...and then I hid the area where the circle didn't meet with the star.
  • It's a little difficult to see in the picture but I "rolled" the stars in two different inks.  I started with Sunflower ink and then rolled a portion of the star in goldrush.  One of my favorite techniques to use with shades of yellow because it really gives it some depth!
Supplies Used:
You Rock Workshop on the Go Kit (stamp set and brads are in the kit)
Inks: Outdoor Denim, Olive, Sunflower, Goldrush

Tuesday, March 30, 2010

CTMH Wishes #13 - Merry Go Round

We've been spoiled with some beautiful summer like weather here in San Diego, but rumor has it that rain is headed our way tomorrow....which makes my card so fitting!!  I made this last week when there wasn't a rain drop in sight...


Stamp Set: D1415 Springtime
I love this set!!  It's stamps beautifully and there are several different umbrellas to choose from. 

Stamping Technique:  I used liquid glass to really make the raindrops pop and look wet.  I also used it on the handle because I was thinking of those shiny plastic umbrellas from my childhood.

Friday, March 26, 2010

Wishes #13 Circle Collection


This card is just one of the many reasons I am sooo glad that I am doing this project.  I can't tell you how many times I have skipped over this design because I just wasn't inspired by the sample pictured in the book.  It just wasn't my thing.... But since I'm on a "mission" I had to do it and I'm actually pretty happy with the results.

Update: Thankful Thursdays.. Ooops... I've missed two in a row.  Bad Blogger!!  I'm having "blogging" issues...namely... I keep losing my stinkin media cards. LOL.  I don't know what the problem is.  I find one and then lose the other.  Of course whichever one is in my possession is never the one that has the pictures I need.  My goal is to locate both cards (camera and video camera) this weekend and get all the stuff I have photographed and video'd uploaded so I can get back on track.  Wish me luck!

Sunday, February 28, 2010

March SOTM Blog Hop - CTMH

Welcome to the March Stamp of the Month Blog Hop.  If you arrived here from Nancy's Blog, you're on the right track.

 
For my Stamp of the Month contribution, I'm featuring project #11 on my Wishes Project - Lucky Layers.

 
In the card above, I rotated the pattern 180 degrees from the way it was pictured in Wishes.
I rotated this card 90 degrees.
Design/Pattern Tip
Don't be afraid to mix things up and turn things around.  I wasn't really digging this pattern when I first cut the paper and layed it out on my card....but since I'm on a "mission" to work my way through the book.  There is no cheating or skipping so I had to keep going with it. 
Here are a few things to try if you find yourself struggling like I did...


  • Flip your papers over and see if the patterns on the other side work better.
  • Rotate your card 90 degrees at a time.
  • Rotate your saying or main image
  • Add embellishments, sponging, distressing.....


I hope this helps you the next time one of your designs just isn't working for ya!
All Products Used are Close To My Heart

 Next up is Shirley, check out her blog to see what fun she had with the SOTM

Thursday, February 25, 2010

Wishes #6 Simply Said

I'm working my way through the Wishes Card Confidence Program.  One pattern at a time, in order...and today we're on pattern number 6.  To see all the other Wishes posts simply click on the word Wishes Project in the sidebar under labels.  Ready to purchase your own copy and play along?  Email me to place your order or visit my website and order online.

Ooops, it looks like I never posted this...dang...now they're out of order. 

This is a clean and simple pattern and I kept it that way because I needed to make quite a few Thank You cards for the holidays.  These cards fit in #10 envelopes with a little room left over. 


Supplies Used:
Paper is from a retired Paper Pack (sorry, using up some of my stash!)
D1361 Thank You
Chocolate Ink
Chocolate Mini-Medleys (Retired)

Friday, February 12, 2010

Wishes Project #10 Well Rounded

These little cards were so fun to make!  I re-visited the hedgehog stamp set from the Twitterpated Workshop on the Go.  I love this little set!

The cards are 3.5 x 2.5 and go together really quick.  Perfect for a little note in a lunch box, suitcase, left on a pillow....


Supplies:
X7105B Emporium Level 2 Paper Pack
Ink: Chocolate, Twilight, Vineyard Berry and Buttercup

Sunday, January 31, 2010

February Stamp of the Month Blog Hop!

Woo Hoo!  It's blog hop time again and I have a fun surprise for you!!! (If you came here from Terrie's Blog, you're on the right path.)

If you've been following my blog lately you'll know that I have been working my way through the Wishes Card Confidence book.  Well today I'm showing the first card workshop in the book and I used the Feburary Stamp of the Month on all of the cards!
The card workshop consists of 12 cards (two each of six designs) so I have SIX different cards to share with you!!


When I was creating the cards, I felt like the plain background was just a little too plain for me...so I whipped out my spot on backgrounds set and played around.  I love how the polka dot backgound ties right in with the polka dots on the cakes!  Too Fun.

Supplies Used:
Paper - Topstitch Paper Back
Inks and Markers - Baby Pink, Heavenly Blue, Grey Flannel and Chocolate
Embellishments - Chocolate Ribbon Rounds and Pastel Edge Anchors
Stamp Set - Spot On Backgrounds

Next up on the hop is Brae.  Head on over and see what she came up with!

Wishes Project #8 and #9

I'm working my way through the Wishes Card Confidence Program. One pattern at a time, in order...and today we're on pattern numbers 8 and 9. To see all the other Wishes posts simply click on the Wishes Project in the sidebar under labels. Ready to purchase your own copy and play along? Email me to place your order or visit my website and order online.

Bonus - I'm featuring two cards today.  Partly because they are small - 3x3 and partly because.....part of the deal was to do the cards in order and I have a super cool surprise ready to go for the Stamp of the Month blog hop scheduled for February 1st.... so I had to step things up a bit and get these all posted.  I've got to follow my own rules you know. :-P

Pattern #8 - Middle Ground


Pattern #9 - Layered Look

Products Used:

  • Paper - Topstitch

  • Inks - Baby Pink, Heavenly Blue and Chocolate

  • Stamp Set: A1103 A Love

Saturday, January 30, 2010

Wishes #7 Name Plate

I'm working my way through the Wishes Card Confidence Program. One pattern at a time, in order...and today we're on pattern number 7. To see all the other Wishes posts simply click on the word Wishes Project in the sidebar under labels. Ready to purchase your own copy and play along? Email me to place your order or visit my website and order online.

I'm getting ready to feature the Topstitch Paper Pack and Workshop on the Go at my next workshop so the next few cards will be using the papers I had leftover in my kit after completing the layout and cards featured in the workshop.  I had to add some cardstock for card bases, but all of the patterned paper is from the kit and let me tell you.... I made a ton of cards and four more scrapbook pages!!!

Nameplate is a 3x6 card.  I love the 3x6 cards because they fit in the small bill size envelopes.  It's kind of fun to send something other than the traditional 4.25 x 5.5 card.


Paper - Topstitch
Inks - Baby Pink, Heavenly Blue, Vineyard Berry and Chocolate for the sponging
Stamp Set - A1103 A Love

Thursday, January 28, 2010

Wishes #5 Framework

I'm working my way through the Wishes Card Confidence Program. One pattern at a time, in order...and today we're on pattern number 5. To see all the other Wishes posts simply click on Wishes Project in the sidebar under labels. Ready to purchase your own copy and play along? Email me to place your order or visit my website and order online.


Here is pattern number 5 - Framework


This is a 5x7 card.  Once again I used the Felicity Paper Pack and Stamp Set (Please note, you only have a couple more days to get this Kit!!  January 31, 2010 is the last day to order!)

Inks used: Chocolate and Twilight

Wednesday, January 20, 2010

Wishes #4 Sundial

I'm working my way through the Wishes Card Confidence Program. One pattern at a time, in order...and today we're on pattern number 4. To see all the other Wishes posts simply click on the word Wishes Project in the sidebar under labels. Ready to purchase your own copy and play along? Email me to place your order or visit my website and order online.

I'm still playing with the Felicity Paper Pack and stamp set and I've barely made a dent in my paper!  I used the leftover pieces from the My Creations All Sorts Mini-Album - click here to see the post with pictures - to create these cards.

Both cards feature the same paper.  I just flipped the paper over to use the opposite print for the second card.


Supplies Used:
Felicity Paper Pack and Stamp Set
Added Bamboo and Chocolate Cardstock
Ink: Twilight, Bamboo and Chocolate

Tuesday, January 19, 2010

Thank You and Happy Mail!!

I just have to thank everyone for all the wonderful comments and emails!!  I am really enjoying my Wishes project and I am so glad that you are enjoying it with me.  I think part of the fun is that I can use anything in my stamp room!!  I don't have to make sure I use current products.  I don't have to make 10 for a swap.  I don't have to make kits for a class.  I just concentrate on one card at a time and I play with it until I like it... or mostly like it... there's one coming up that I really struggled with.....and a few that I absolutely love.  (They are scheduled for the February 1st SOTM Blog hop!)

And...

I got HAPPY MAIL!!!!  Check out what my friend Linda Taylor sent to me!!!!

She saw my post about being a lazy stamper....about avoiding cards that required me to print the patterns... and she printed all the patterns for me!!!!!!!!!!!!  And included an adorable card with the exact stamp set I was using.  Stay tuned...those cards will be posted starting tomorrow.

What a fun surprise!  Thank you Linda!!

Monday, January 11, 2010

New Product Blog Hop and Wishes #3

Close To My Heart New Product Blog Hop


Two Birds - One Stone! LOL. I'm working my way through the Wishes book this year and I signed up to do the Close To My Heart New Product Blog Hop so I combined them both for today's post!

Today I am doing the 3rd pattern in the Wishes Book called It's a Wrap (pg. 12). My This cute pattern is actually a sleeve that goes over a 4.25 x 5.5 piece of cardstock.


I think it would be great to put a gift card inside!!


Supplies Used:
Z293 Photo Hangers
z1276 Colonial White Mini-Medley (ribbon)
Inks: Heavenly Blue, Chocolate and Baby Pink
X7120B Topstitch Level 2 Paper Pack
D1361 Thank You


Please note: I actually used the Topstitch Workshop on the Go Kit which includes the paper pack, stamp set and Colonial White mini-medley's. Ask your consultant about the WOTG kits! They are an awesome value!!! But...you could substitute C1385 Charmed for the stamp set I used and get a similar look.


Now hop on over to Kimberly's blog to see what she's featuring!

Here's a complete list of participants in case you get lost on the hop, or a link isn't working.

Erin Herring www.tazzygirl2000.blogspot.com
Lisa Stenz http://www.lisascreativecorner.blogspot.com
Brae Montogmery http://thebrae-er.blogspot.com
Carla Ironside http://carlacreates.blogspot.com
Helen Onulak www.hookedonstamping.com
Adeline Brill http://adeline-brill.blogspot.com
Jody Gustafson www.cre8nmemories.blogspot.com
Haley Dyer www.inkyscrapper.blogspot.com
Antoinette Herrin www.godblessyourART.blogspot.com
Sherrie Thornton http://impressionableart.blogspot.com
Jessica Moore http://jessicaspaperpetals.blogspot.com
Wendy Kessler www.myscrapbookingblog.com
Dawn Ross http://iamahappystamper.blogspot.com
Dawn Heuft www.stamptildawn.blogspot.com
Kimberly Smith http://verykimberry.blogspot.com
Amy Edwards www.paisleysplayhouse.blogspot.com
Amy Schultz http://amylizschultz.com

Monday, January 04, 2010

Wishes Project - #2 Keyhole

In the spirit of the movie Julie/Julia, I am working my way through the Wishes Card Confidence Book...one pattern at a time...in order....

And so I'm already wondering why I decided to do the cards in order. LOL. I looked ahead and saw a couple I wanted to skip because I am lazy!! I believe it is card #3 (next card?) that is already going to test my honesty. It LOOKS like a standard size card and I could probably make a standard size card and you would NEVER know... but apparently it has some secret folding thing. Something where I have to print out a pattern and follow and....not... cheat....

Now that I've told you, I'll probably have to photograph it in such a way as to prove that I did follow the directions.

And in the middle of the night last night I suddenly realized there are a couple of card workshop things in there. You know the ones where you make like 16 cards!! I'm sure hoping that each pattern in the workshop is counted separately or there's going to be a couple of busy weeks this year. :-)

But seriously, I am enjoying this! The challenge is inspiring me and I have lots of plans...

And now, on to card #2. I love, love, love this card. In person it is sooo cute. So cute that I had to make a few of them.... As you can see, the caboodle paper pack is still on my stamping table, as well as the stamp set Childhood Portrait.

Enjoy!

And now I'm off to print the pattern for card number three....honestly!!

Saturday, January 02, 2010

Wishes Project - #1 Simple Statement

Last night I watched Julie/Julia. Ok, so I only watched part of it last night before exhaustion took over. This morning I popped it into the laptop and watched the rest of it while I was stamping, and an idea started to formulate.....

Why not work my way through the Wishes book this year? I use the book all the time, but usually I flip through and find something that fits the set I want to use, or the paper I have available or something quick and easy.... I steer away from ones that look "complicated."

So, in the spirit of Julie/Julia, here's the plan...

Please join me on my journey as I work my way through Jeanette Lynton's Card Confidence Program featured in Wishes. I will start at the beginning and create the cards in order. I have 85 cards to complete in 52 weeks. My goal will be to complete 2 cards a week so that I finish ahead of schedule and allow for vacations, hubby's home time and stampers "block

As encouraged by Close To My Heart, I reserve the right to adjust cards to suit my needs and will try to flip designs in multiple directions to show versatility.

So let's go - Card #1 Simple Statement


Paper - X7121B Caboodle
Ink - Crystal Blue
Stamp Set - d1373 Childhood Portrait